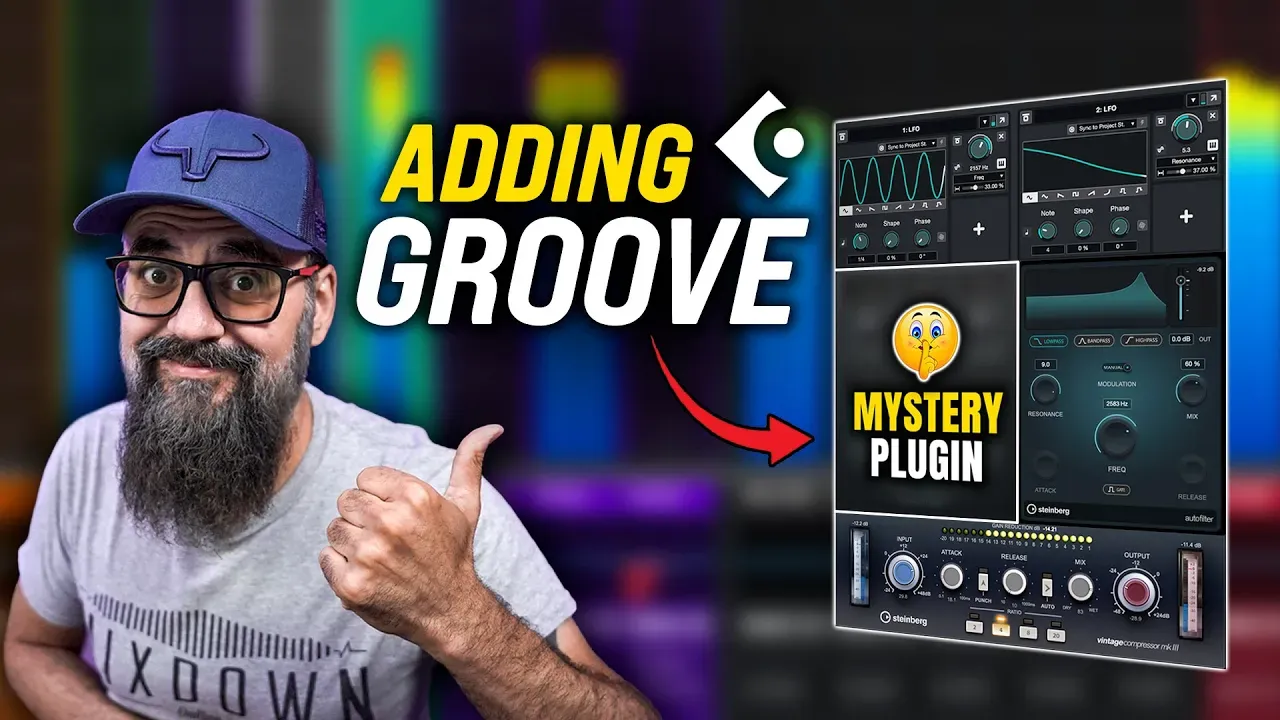
4 Powerful Cubase Tricks to Instantly Add Groove and Movement to Your Mixes
If your mix feels flat—like it's just not moving the way it should—it might be missing one key ingredient: groove. Groove isn’t just about rhythm; it’s about energy, bounce, and subtle movement that keeps the listener engaged. In this post, I’ll walk you through four powerful tricks in Cubase that can instantly bring life to your tracks.
1. Sidechain Compression: The Classic Pumping Effect
Let’s start with a foundational move: sidechain compression. It’s a tried-and-true technique that adds rhythmic movement, especially when triggered by a kick drum. In Cubase, any compressor with a sidechain input will do, but I used the built-in Vintage Compressor for this example.
Play with the attack and release times to shape the groove—faster settings will feel tighter and more energetic, while slower ones add smoothness. You can also adjust the mix knob to blend in more transparency if needed.
2. Auto Filter + Modulators: Reactive Filtering
New in Cubase 14, the Auto Filter combined with the powerful Modulators can create dynamic, evolving filter effects. I used two LFOs—one to control the filter frequency, the other for resonance—at different rates. This creates rhythmic sweeps that lock in with your track’s groove.
While the Auto mode didn’t work well for my pad sound, using manual settings gave full control. Pairing this with sidechain compression opens up a lot of creative motion in your mix.
3. Auto Pan: Add Stereo Groove
Auto Pan is another built-in Cubase plugin that’s great for giving a static sound some left/right movement. Setting it to a half-note rate and using the smooth control helps make the panning feel natural rather than dizzying.
Used subtly, Auto Pan adds stereo interest and keeps your mix from sounding narrow or boring.
4. MIDI Gate: The Hidden Gem
This one’s often overlooked—even by experienced Cubase users. The MIDI Gate only opens when it receives MIDI notes. That means you can literally design your groove using MIDI. Set up a MIDI track, send it to the gate, and create rhythmic note patterns that trigger the gate to open on your pad or any other audio.
Attack and release settings give you control over the envelope. And here’s where it gets even cooler: you can make the pitch of the MIDI notes control how fast or slow the gate opens and closes using the note-to-attack and note-to-release parameters. It's groove design on another level.
Final Thoughts
Groove isn’t just for drums—it’s something every sound in your mix can contribute to. Using Cubase tools like sidechain compression, Auto Filter, Auto Pan, and MIDI Gate gives you more control over how your tracks move and feel.
Try layering two or three of these tricks together and see how much more alive your mix becomes. Got your own favorite Cubase trick for groove? Share it in the comments!
➜ Want to see these tricks in action?
Watch the full video here to hear how each tool transforms a dull pad into a dynamic, groovy element in the mix.
I walk you through each step visually, so you can follow along and apply these techniques in your own sessions.
If you're serious about getting your mixes to move and breathe, you won’t want to miss it.
And while you're there, don't forget to like and subscribe for more Cubase tips and tricks!
