
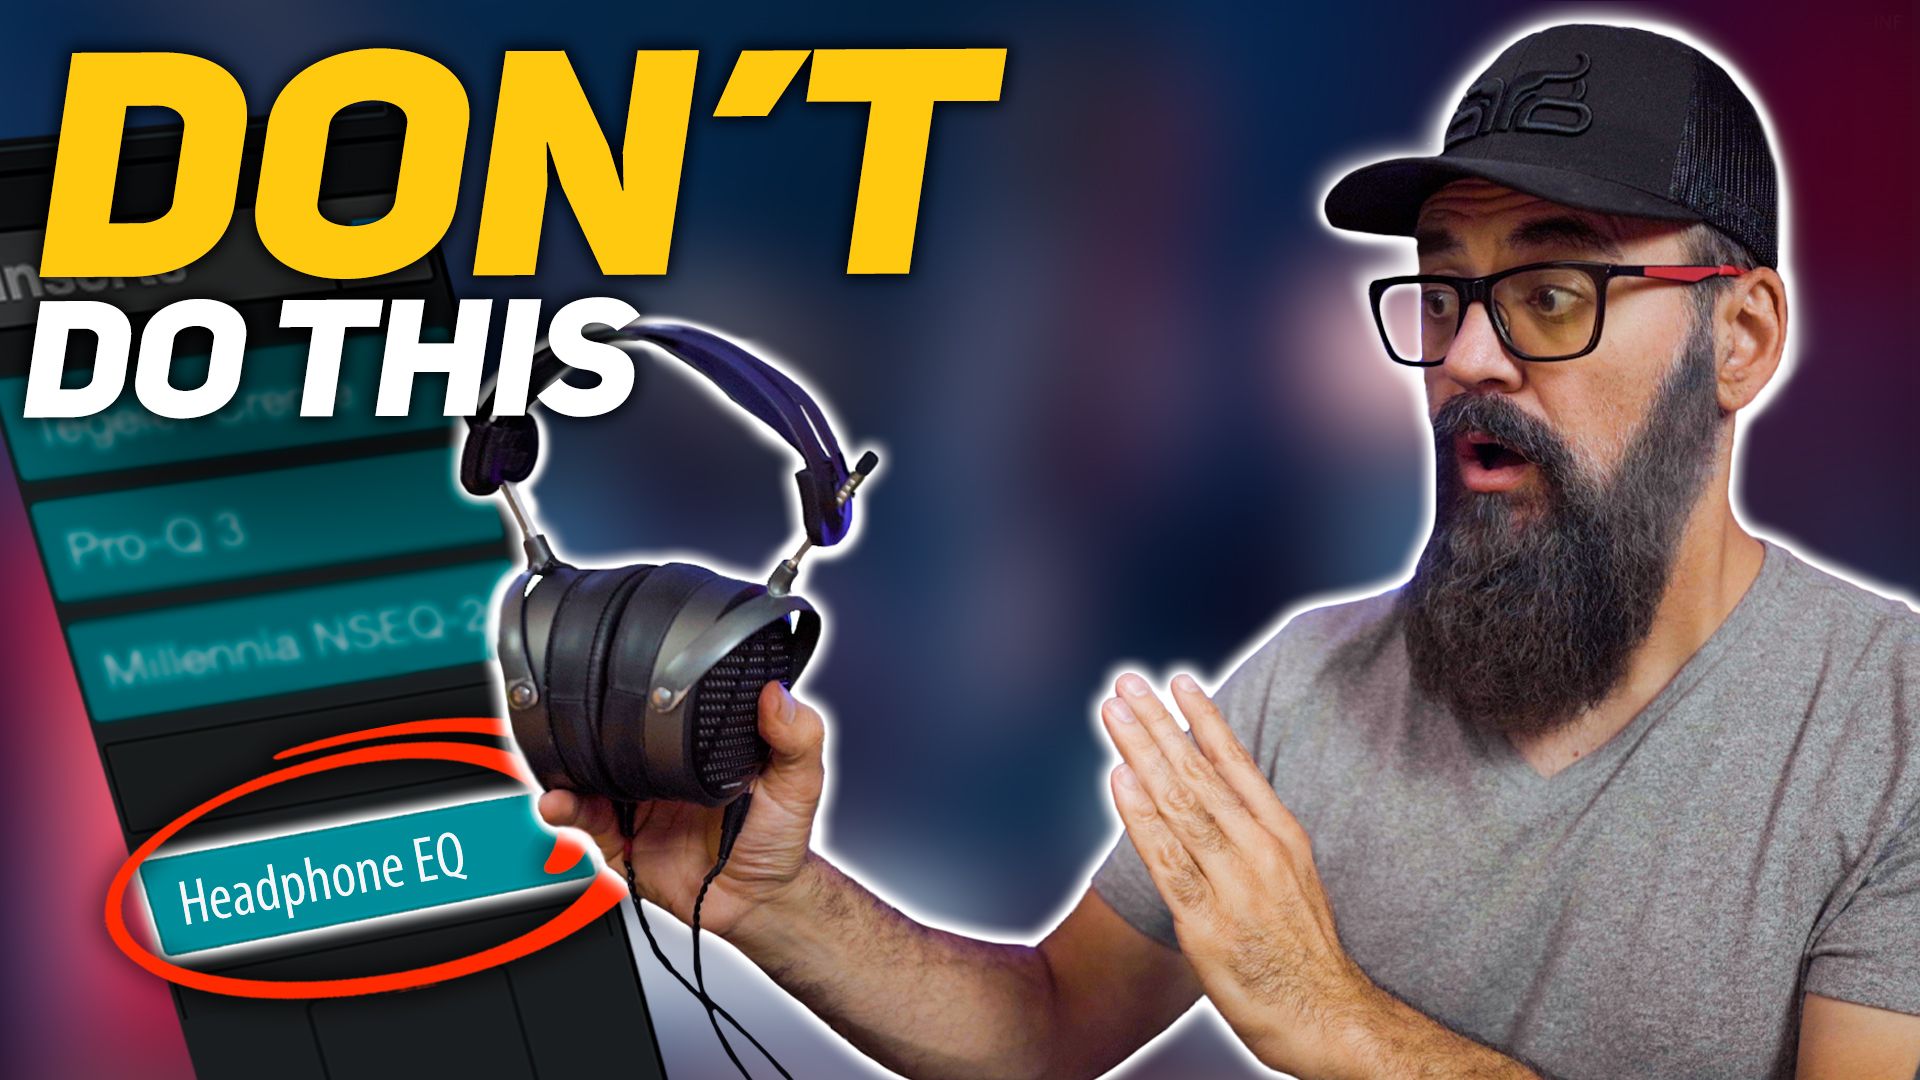
Don't Make This Headphone EQ Mistake
Click HERE to Watch the YouTube Video
When it comes to mixing, many of us rely on our headphones—especially when working in home studios. But here’s the thing: if you’re using EQ to tailor the sound of your headphones, there’s a common mistake you might be making without even realizing it. This can have a significant impact on your final mix. In this post, I’m going to walk you through how to properly set up headphone EQ, whether you’re using Cubase or another DAW, and avoid this mistake that could ruin your mix.
Using Headphone EQ the Right Way
If you’ve been following my content, you know that I like to EQ my headphones using the Harman curve target to achieve a more balanced sound when mixing. But a question I get often is: “Where do I place my headphone EQ in Cubase?” This is where things can get tricky because placing your headphone EQ in the wrong spot can affect your mixdown if you’re not careful.
In Cubase Pro, there’s a perfect solution for this. The Control Room feature allows you to add monitoring plugins like headphone EQ without affecting your actual mix. You can insert your EQ in the Control Room, ensuring that it’s only applied while you’re listening through your headphones and won’t get bounced down when exporting your mix.
Why the Control Room Is Important for Headphone EQ
The beauty of Cubase’s Control Room is that it allows you to apply certain effects like headphone EQ or even room emulation plugins strictly for monitoring purposes. That means when you’re ready to bounce your mix, none of these monitoring plugins will be included. This is key because the biggest mistake people make is forgetting to bypass their headphone EQ when exporting. If you don’t, the EQ tailored for your headphones will be applied to the entire mix, potentially ruining it for listeners who aren’t using the same headphones or EQ settings.
So, if you’re using Cubase Pro, use the Control Room for your headphone EQ. It ensures that your mix remains clean and unaffected by any monitoring-specific plugins.
For Non-Cubase Pro Users
If you’re using Cubase Artist, Elements, or another DAW that doesn’t have a Control Room, there’s still a way to do this. Simply place your headphone EQ at the very end of your mix bus chain—this is crucial—because it needs to be the last plugin in the signal path. Just remember, when you’re ready to bounce your mix, you must bypass the headphone EQ before exporting. It’s only there for monitoring purposes, not to be part of the final mix.
This also applies if you’re using tools like Sonarworks SoundID for headphone or speaker calibration. Make sure these are always placed at the end of your signal chain and bypassed when exporting.
Take Your Headphone EQ Beyond Cubase
Now, if you’re like me, you want to keep your listening experience consistent whether you’re mixing in your DAW or listening to music outside of it. That’s why I use a tool called SoundSource on my Mac. It allows me to apply the same EQ profile I use in Cubase directly to my system audio output. That way, whether I’m streaming music, watching videos, or mixing, I’m hearing everything with the same EQ adjustments that I’ve applied for my headphones. This gives me a much better reference and helps me make more accurate mixing decisions.
For Windows users, there’s a free tool called Equalizer APO that can be used in a similar way. It lets you apply EQ system-wide, giving you the ability to EQ your headphones no matter what you’re listening to.
Don’t Forget to Bypass Your EQ
Regardless of how you apply your headphone EQ—whether through Cubase, SoundSource, or Equalizer APO—the one thing you should never forget is to bypass your EQ before exporting your mix. If you’re switching between headphones and studio monitors, make sure to bypass your headphone EQ and switch profiles when needed. This simple habit can save you from making mix decisions based on skewed frequency responses.
In conclusion, headphone EQ is a fantastic tool for achieving better mixes, but it needs to be handled correctly. Use the right methods to ensure your EQ is only used for monitoring and never makes its way into your final mixdown.
Happy mixing, and take care!